Create/ Edit/ Delete Project
To create new project see the following:
Steps:
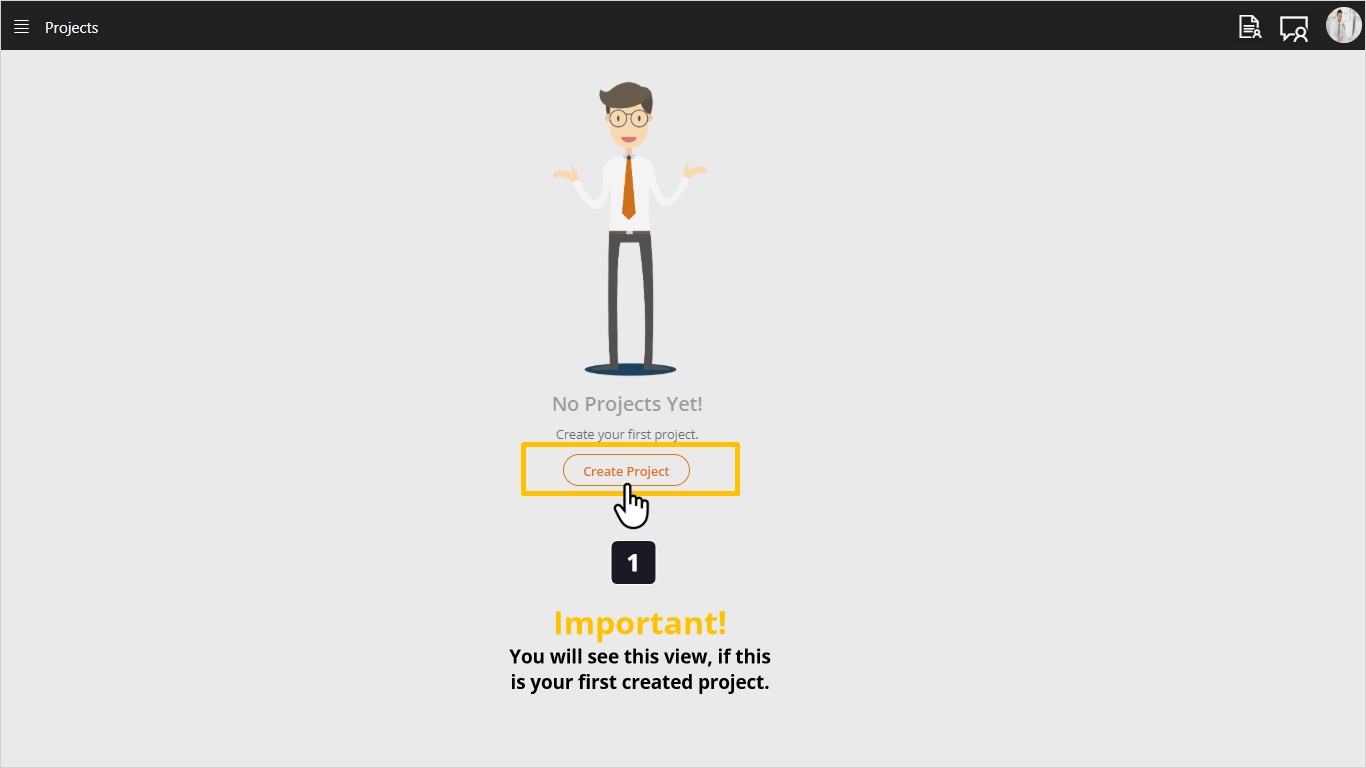
- To add new project, you have two cases.
- If this is your first project you want to create, follow the step in first picture.
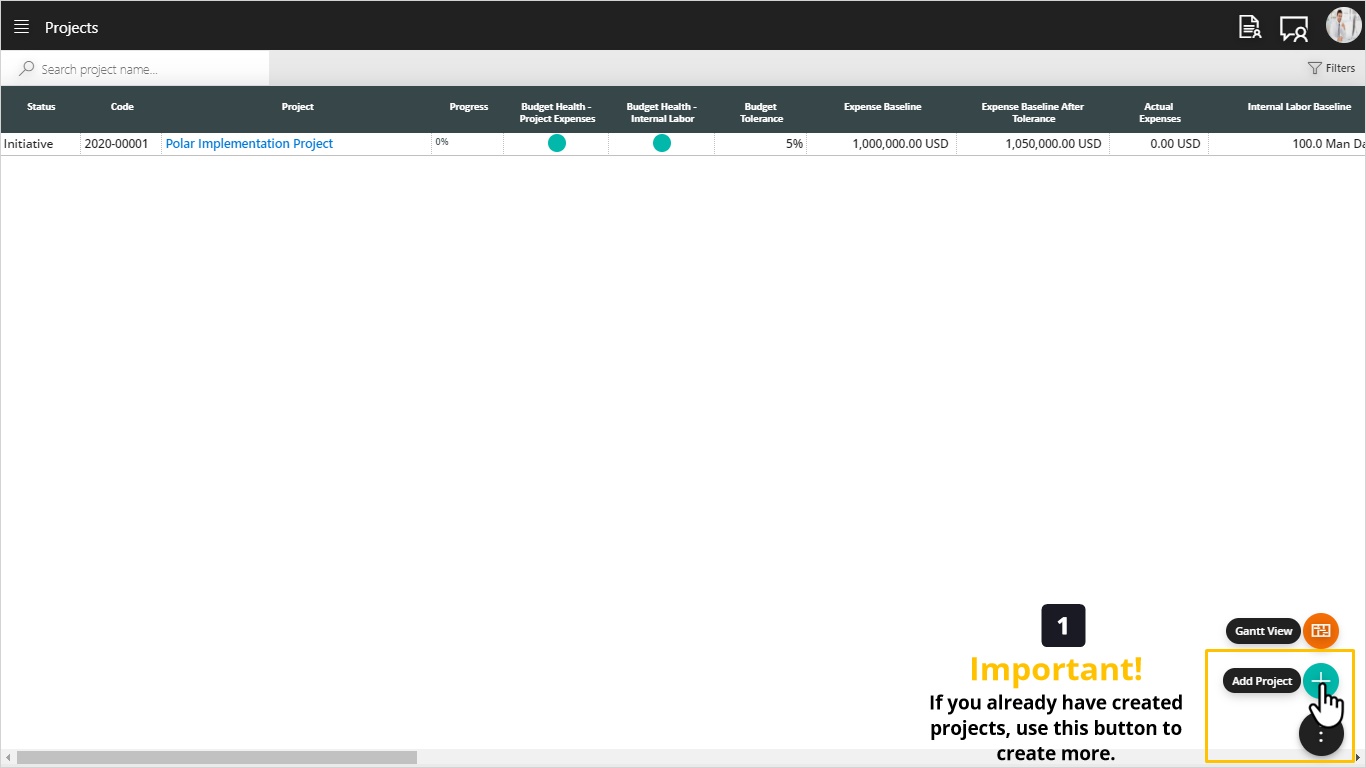
- If you have projects created previously, follow the step in the second picture.
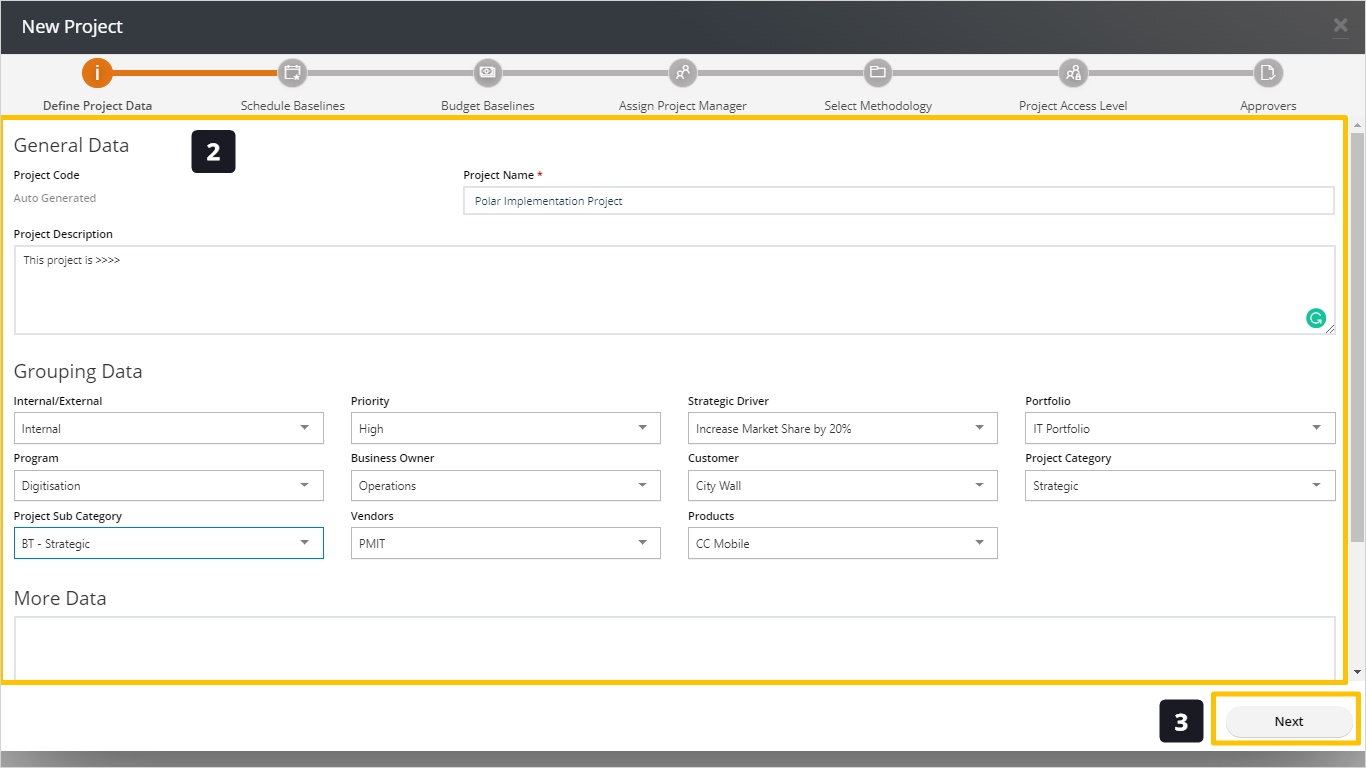
- Define Project Info
- Project code is auto-generated.
- Define a project name.
- Define the project description, which is an overview of the project purpose and scope.
- Select if the project is internal or external, for example projects that have an external. vendor would be considered external.
- Define the priority of the project (Low, Medium, and High).
- Define the Strategic Driver we already have identified in administration data.
- Define the Portfolio we already have identified in administration data.
- Define the Program we already have identified in administration data.
- Define the Business Owner which is typically the department requesting this project, noting that we already have identified in administration data.
- Define the Customer for whom we are creating this project – If any.
- Define the Category and Subcategory for the project.
- Define the vendor(s) that will execute this project, this drop down list is multiple selection.
- Define the product that this project belongs to, this drop down list is multiple selection.
- And finally define any additional information if needed.
- Click Next
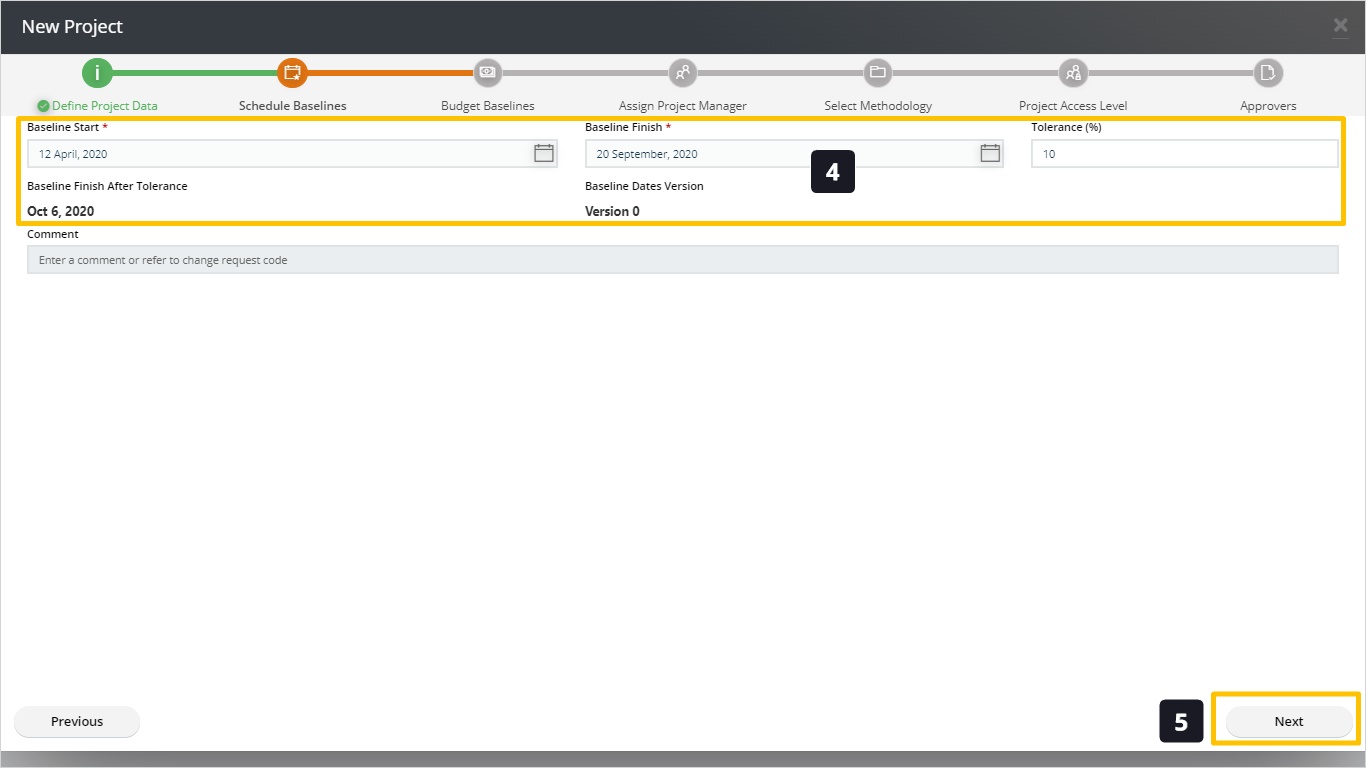
- We should define
- The initial baseline start and baseline finish for the project as agreed with management or as identified in the contract or business case.
- Notice that the Tolerance field allows defining the percentage to have acceptable extension to the project beyond the original period, within this period the project status will be Amber and it indicates an early warning that the project is close to getting into the red status. See baseline finish after tolerance date.
- This baseline will be considered as baseline version zero (draft).
- Click Next
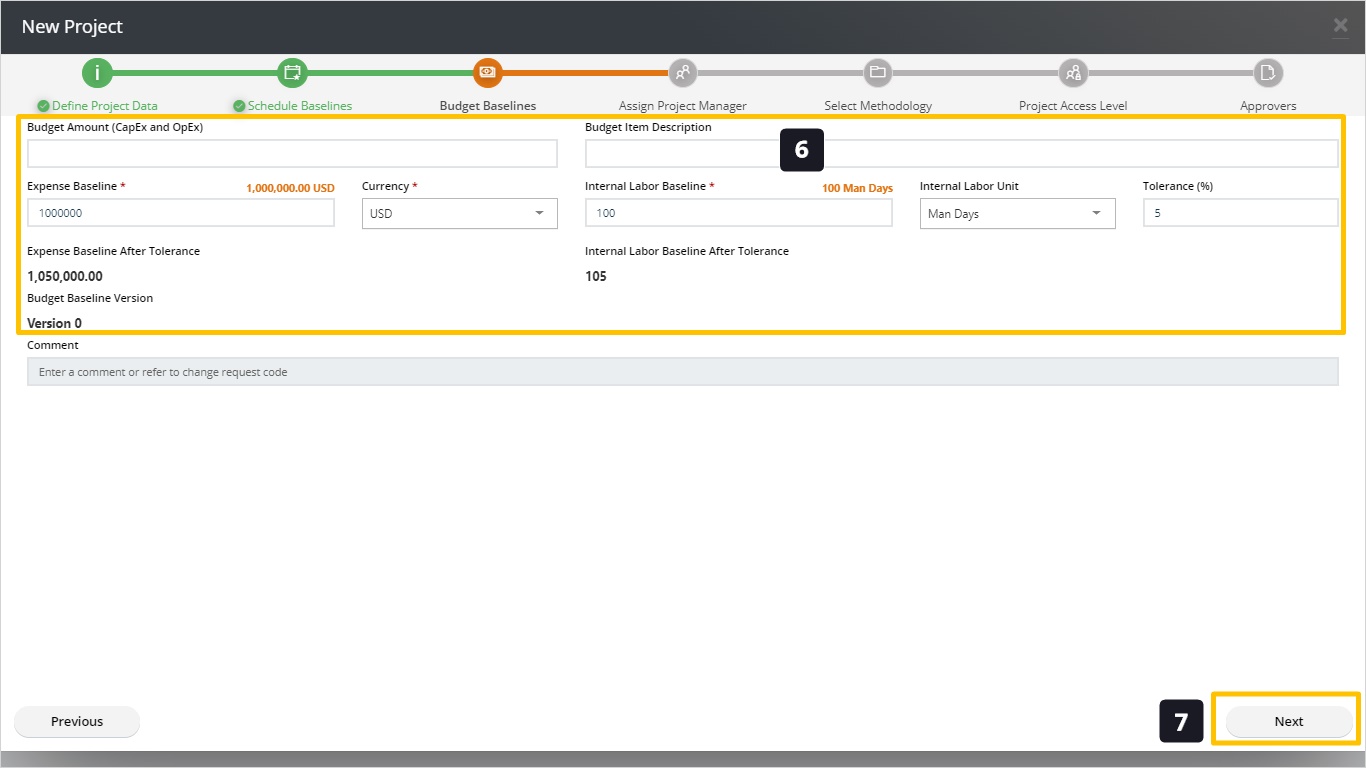
- Now moving next will take us to the budget baseline which includes several fields such as:
- Budget amount (CapEx (Capital Expenses) and OpEx (Operational Expenses)), and Budget item Description ( e.g. banking industry is used to have budgets for the projects defined at the beginning of the year, it is a summation of capital expenses (Cost of the project only) and operational expenses (Cost of operational and maintenance expense of this project for 3-5 years). These two fields to link this with project baseline.
- In CarrotCut, we deal with project budget (cost baseline) in practical way, as we have two types of budgets:
- Expense Baseline: Cash out we expect to pay through the project.
- Internal Labor Baseline: Most of the companies now do not calculate the cost of resources within the project budget and alternatively they prefer to set a man days budget for the project manager to track.
Tip: Accordingly, we typically have two budgets; one for Cash out (Expense Baseline), monetary value calculated in currency and the second for Internal labor baseline in Man/Staff days, hours, weeks, months.
- We can also define a tolerance which works exactly the same way as in schedule.
- This baseline will be initial and version zero.
- Click Next
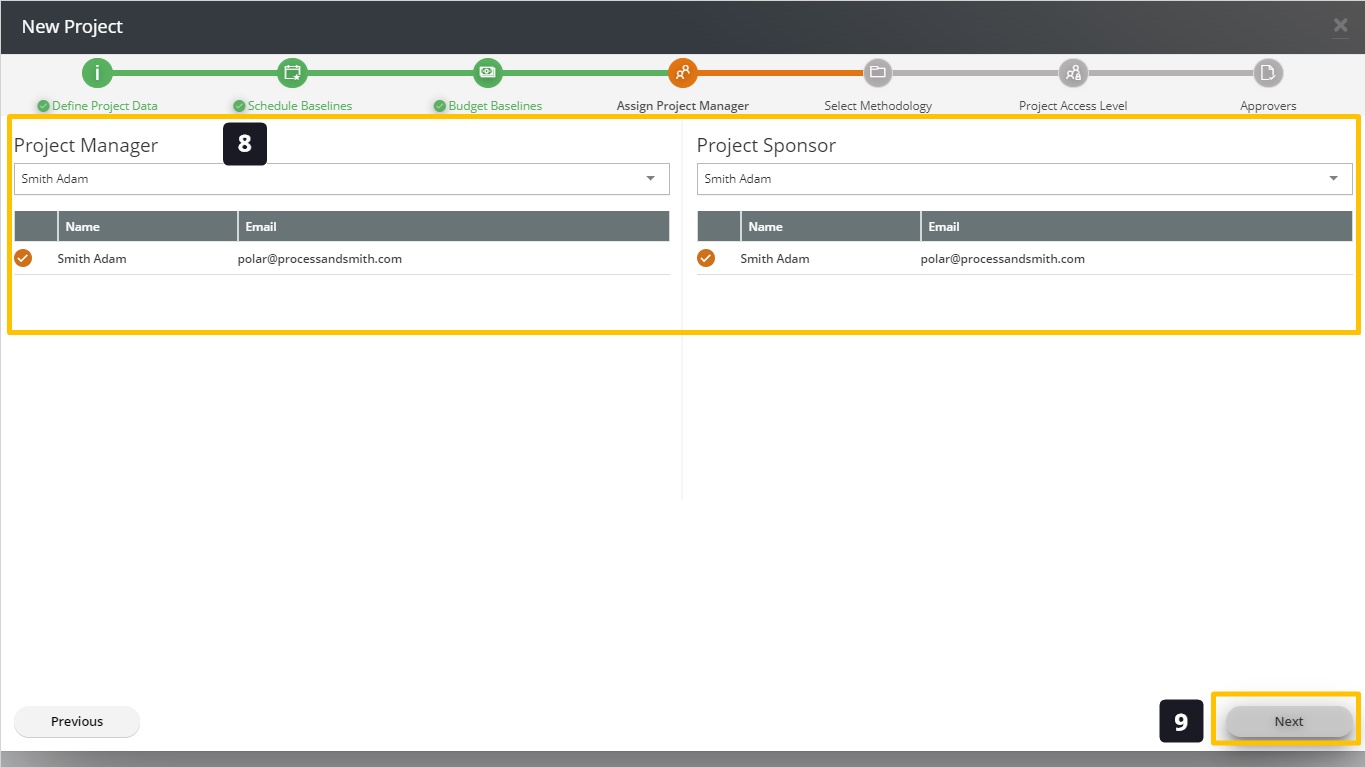
- Select the project manager and project sponsor. They will receive an email notification which includes their role in the project.
- Click Next.
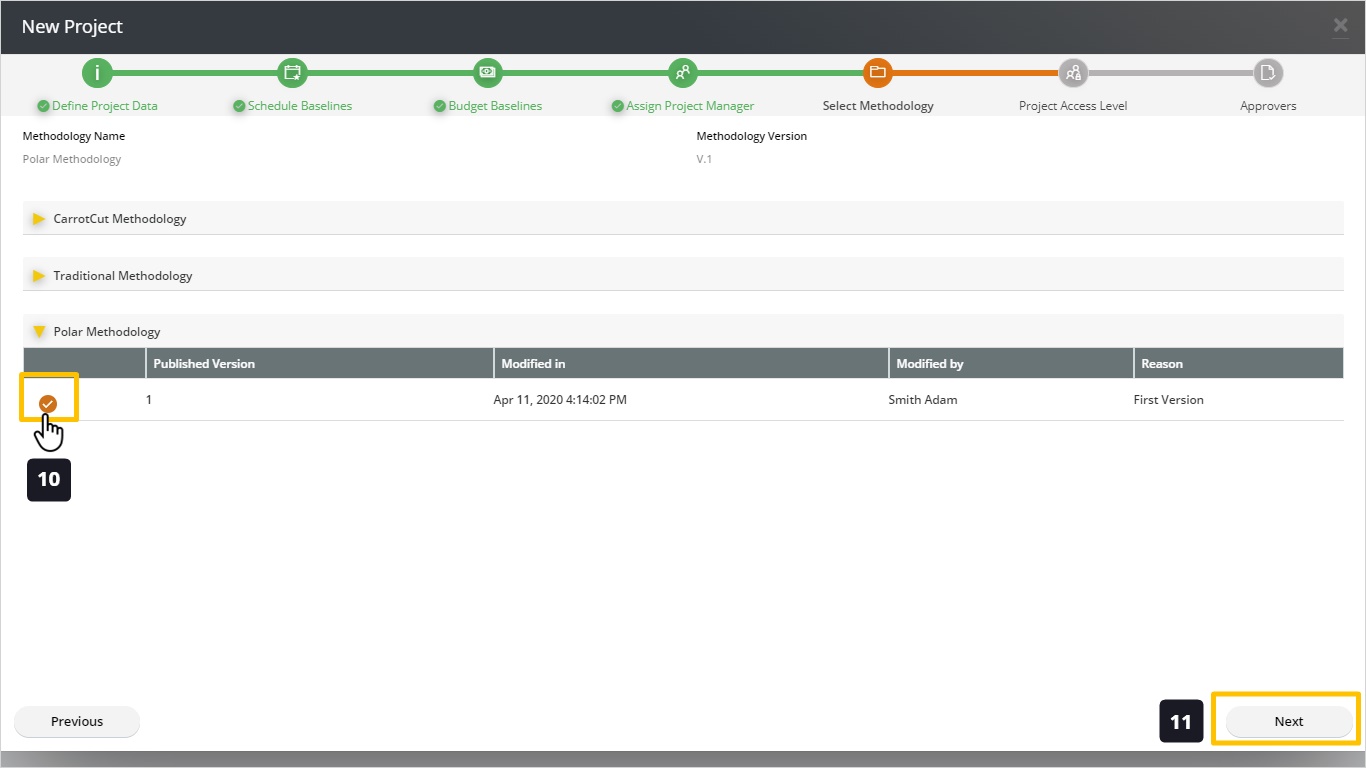
- Select the methodology that project will follow through the duration.
- Click Next.
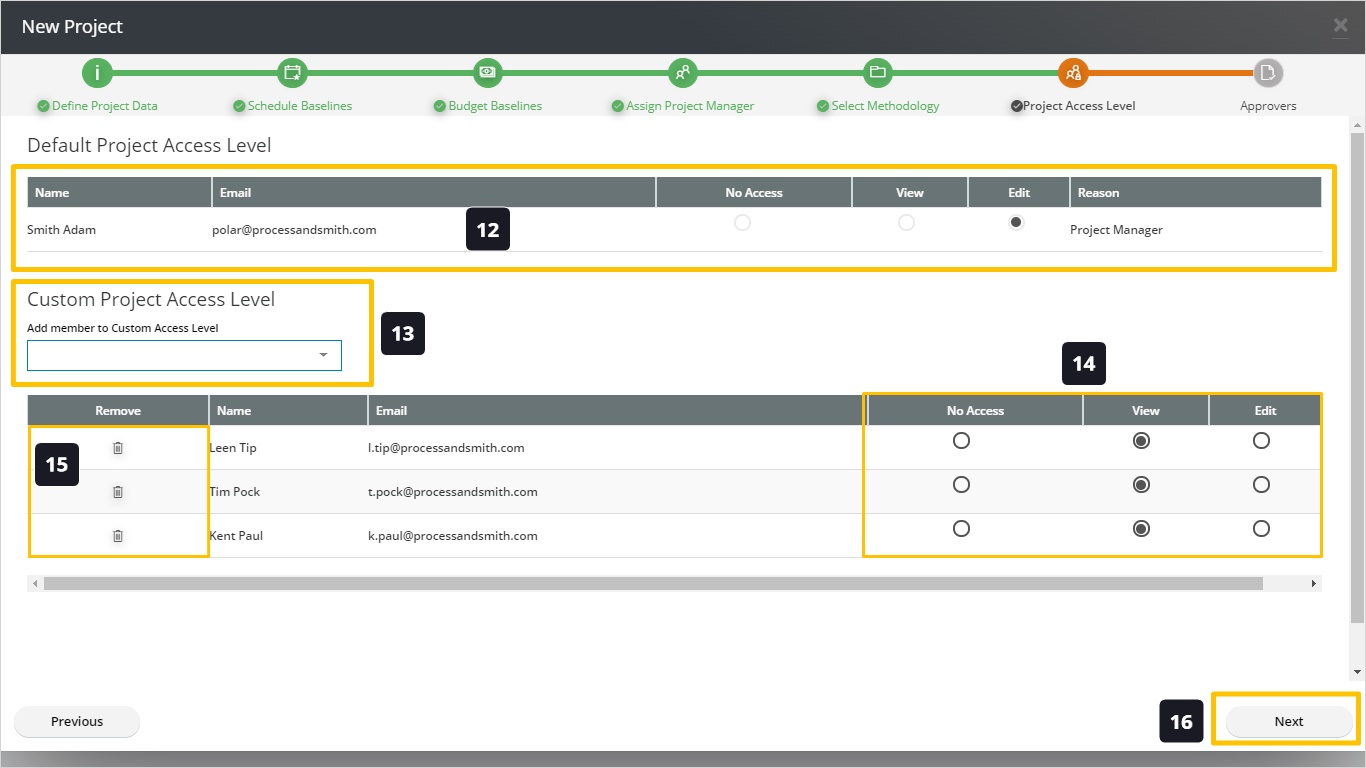
- We will see the users who have default access on this project including the project manager, project sponsor, portfolio manager, top management ….etc.
- We can add more users to have access on this project, just select from the list, they will be added directly to the table below. Noting that we can select a user listed in default access to modify his permission.
- We can modify Users permission on this project as needed.
- Click to delete a user from custom access.
- Click Add to create this project in projects repository.
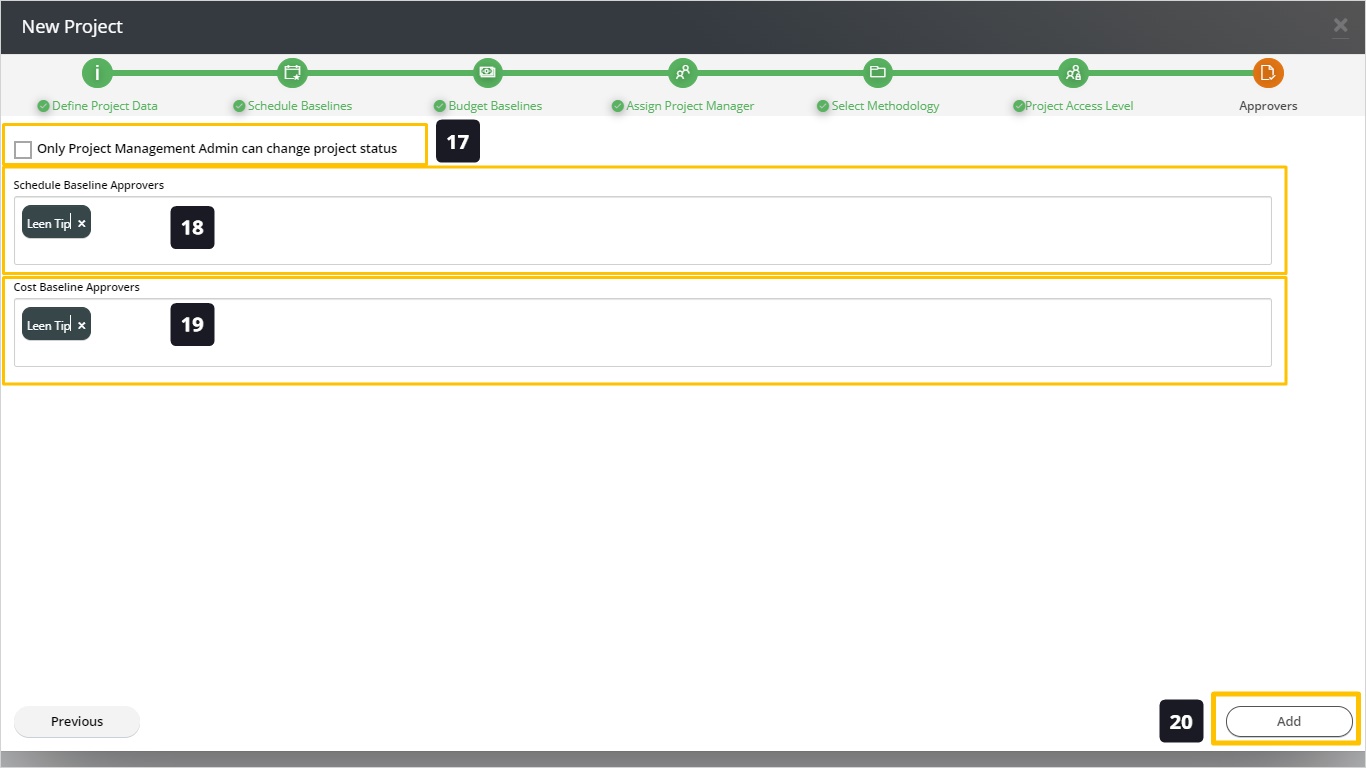
- By checking this box, you make the PMO Admin the only person who can change the Project Status (Active, paused, Not Started, ..etc.)
- Here you can define who will be a Schedule Baseline Approver.
- Here you can define who will be a Cost Baseline Approver.
- Click on Add
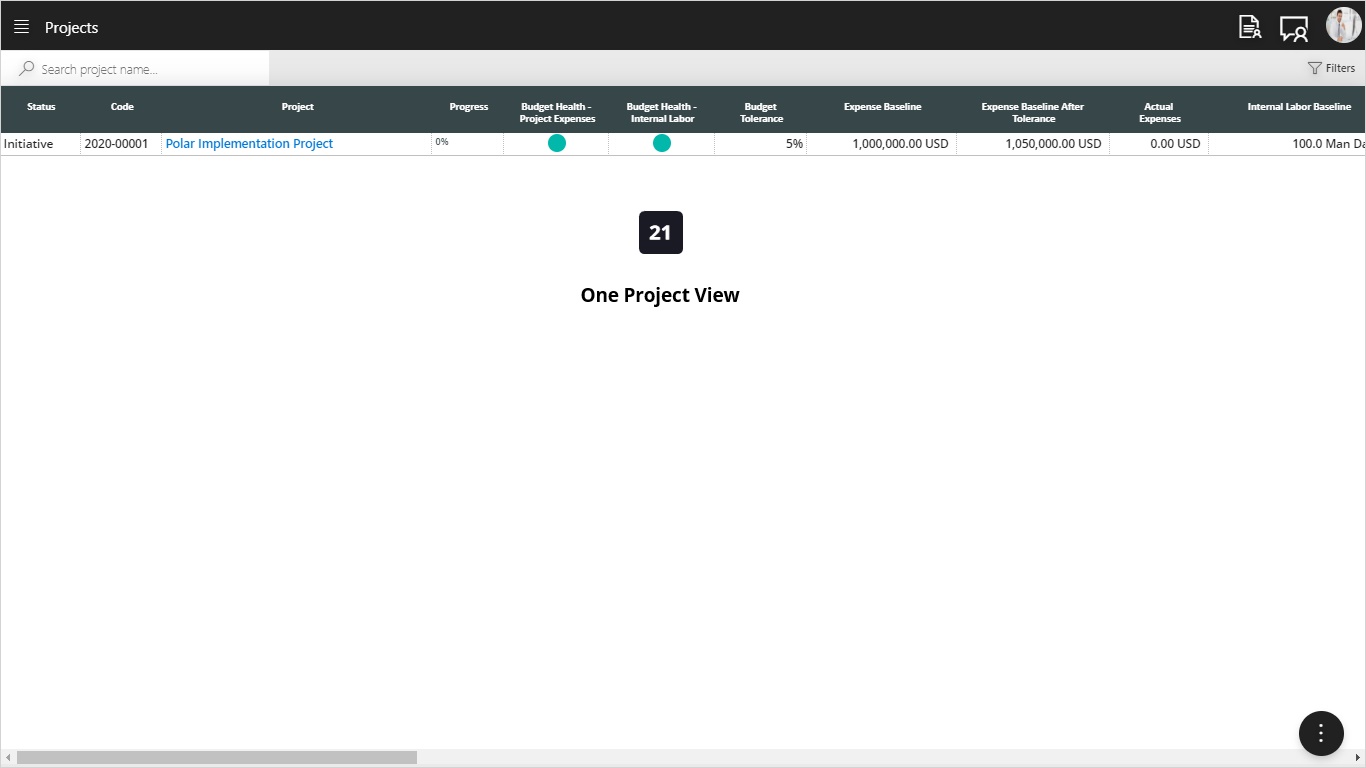
- This project has been added to the project list as you can see below.
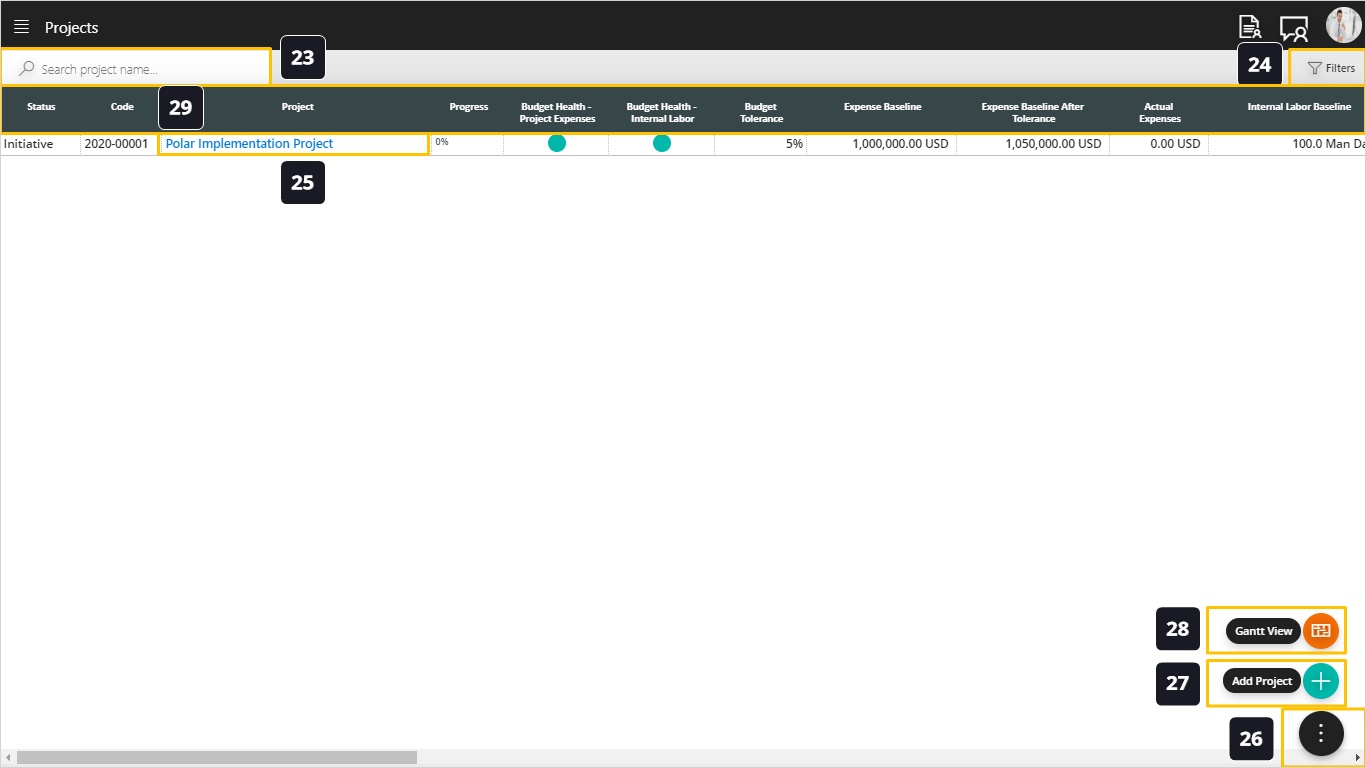
- To see a project list full of data, it will look like this.
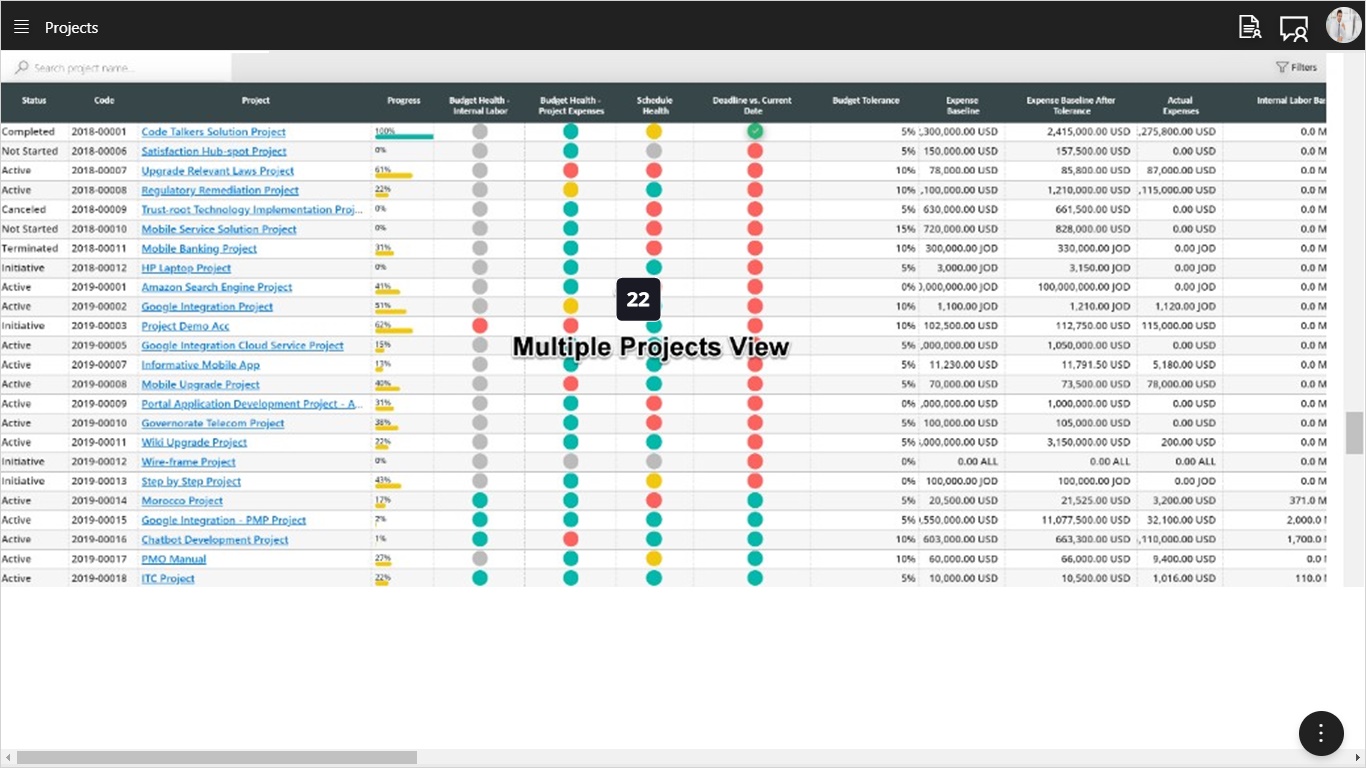
- We can search by a project name.
- We can use the advanced filter to search for a specific data. You can save any filter for future use (pre-defined filters). Noting that when the filter icon is green, this means that you are in filter mode to turn it off, click clear all filters.
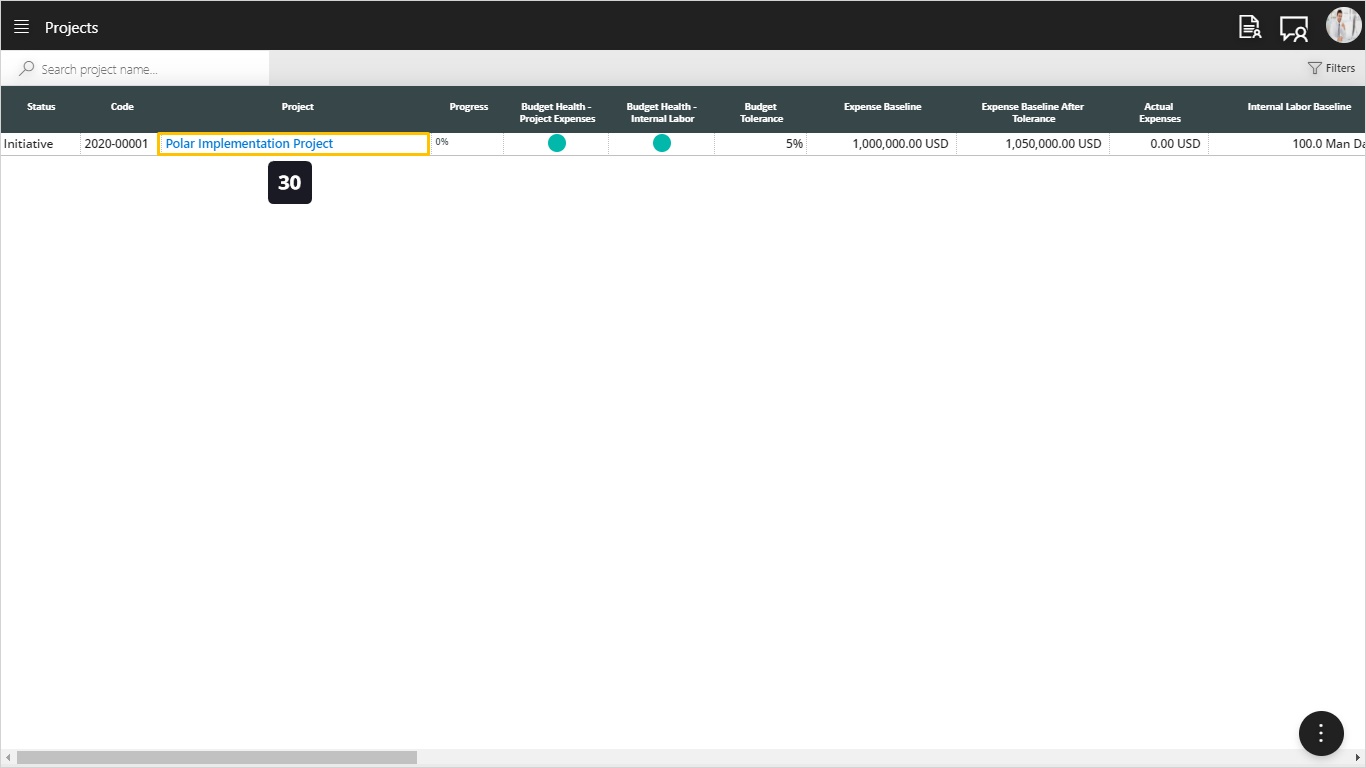
- This is the project name, just click on it, you will navigate inside the project.
- Click on Fab Menu.
- Click to Add New Project.
- We can have Gantt View for all of our projects, showing the projects’ timelines.
- Multiple columns are included in this screen, for details, check View Projects Repository in the Manual Table of Content
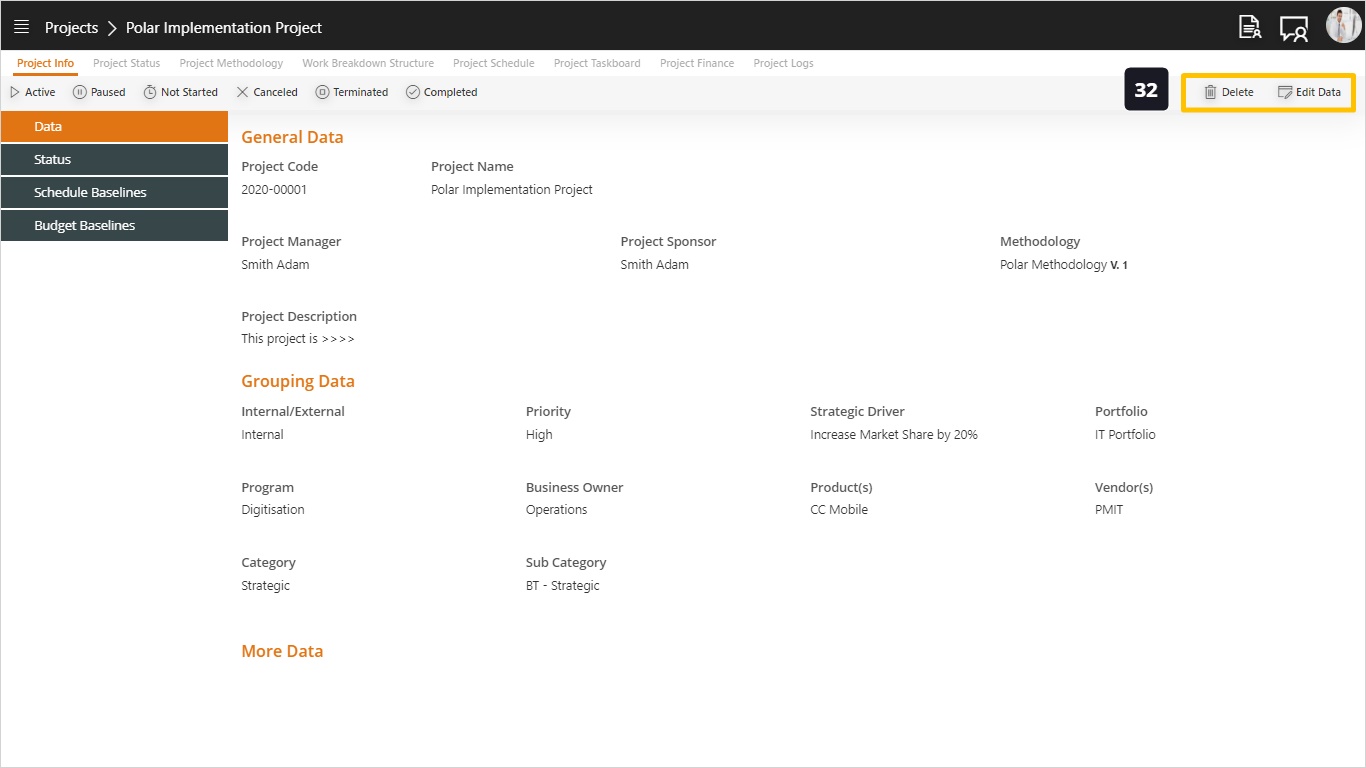
- To Edit or Delete a Project, click on the Project Name.
- Click on Project Info.
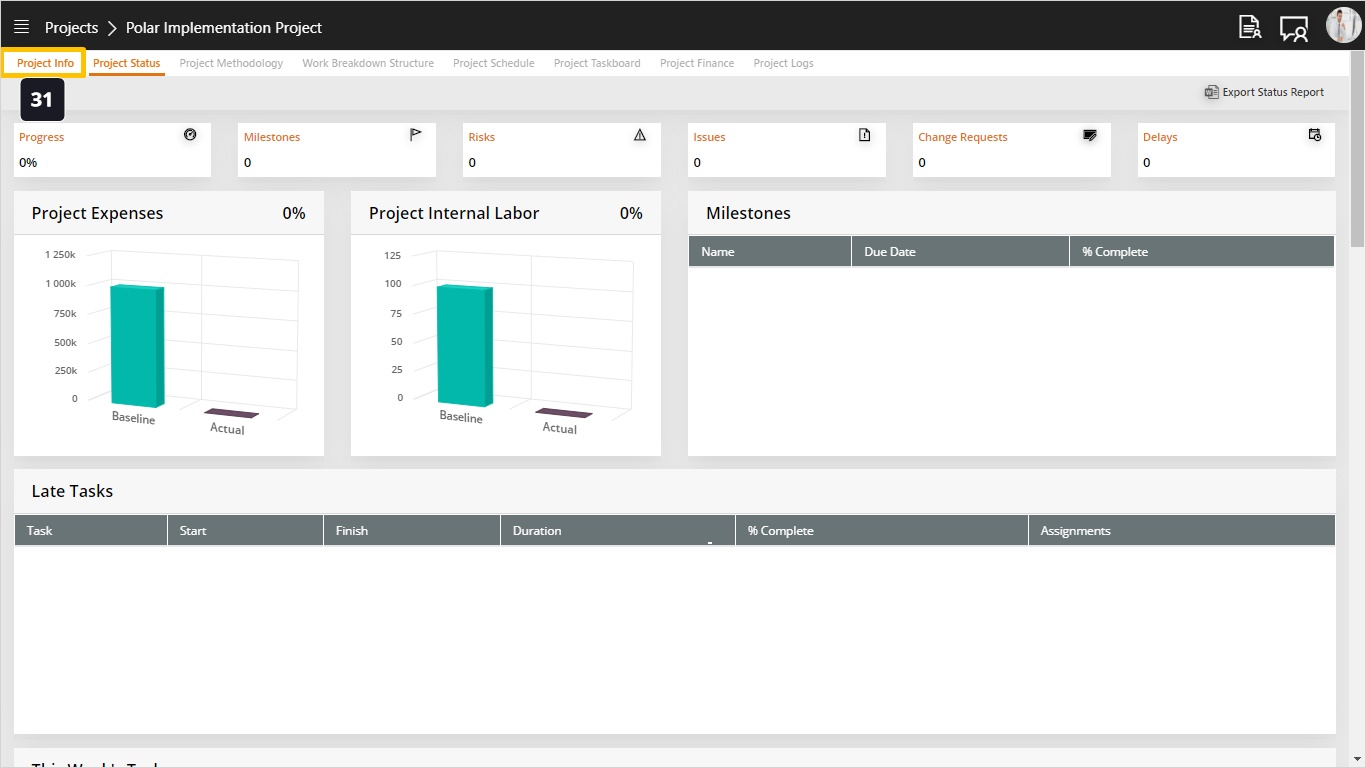
- Click Edit or Delete.